

In this article
- Define your needs first, then go shopping
- Audio interface: the heart of the system
- Choosing a microphone: starting with one is enough
- Studio monitors and headphones
- Acoustic treatment: the room comes before the equipment
- Software (DAW) and plugins
- Computer and storage: the invisible infrastructure
- Cables, stands and small but important accessories
- Where to start? A sample roadmap
- Frequently asked questions
- Conclusion
Setting up a home studio is much easier today than it used to be, but the sheer number of options is a headache too. On one side are the people who say "one microphone is enough", on the other those who share lists costing hundreds of thousands of liras. The musician stuck in the middle, who wants to manage their budget properly, doesn't know whom to trust.
At our studio in Antalya we both record artists and guide musicians who are building home studios. In this article we explain in plain language the equipment a home studio really needs, the order in which to buy it, and what to avoid.
Define your needs first, then go shopping
Before putting together an equipment list, ask yourself this question: What will I be recording? The needs of a singer-songwriter who records only vocals and guitar, an electronic music producer and a band recording drums are very different from one another.
If you work alone and record one channel at a time, an interface with two inputs is enough. If you are planning to record a band, you need to look at four- or eight-input interfaces. It makes sense to put most of your budget into the microphone, audio interface and monitors, because the weakest link in the signal chain determines the result.
And don't forget this: expensive equipment bought at the start often delivers only half its potential because of poor room acoustics. So set aside part of your budget for room treatment right now.
Audio interface: the heart of the system
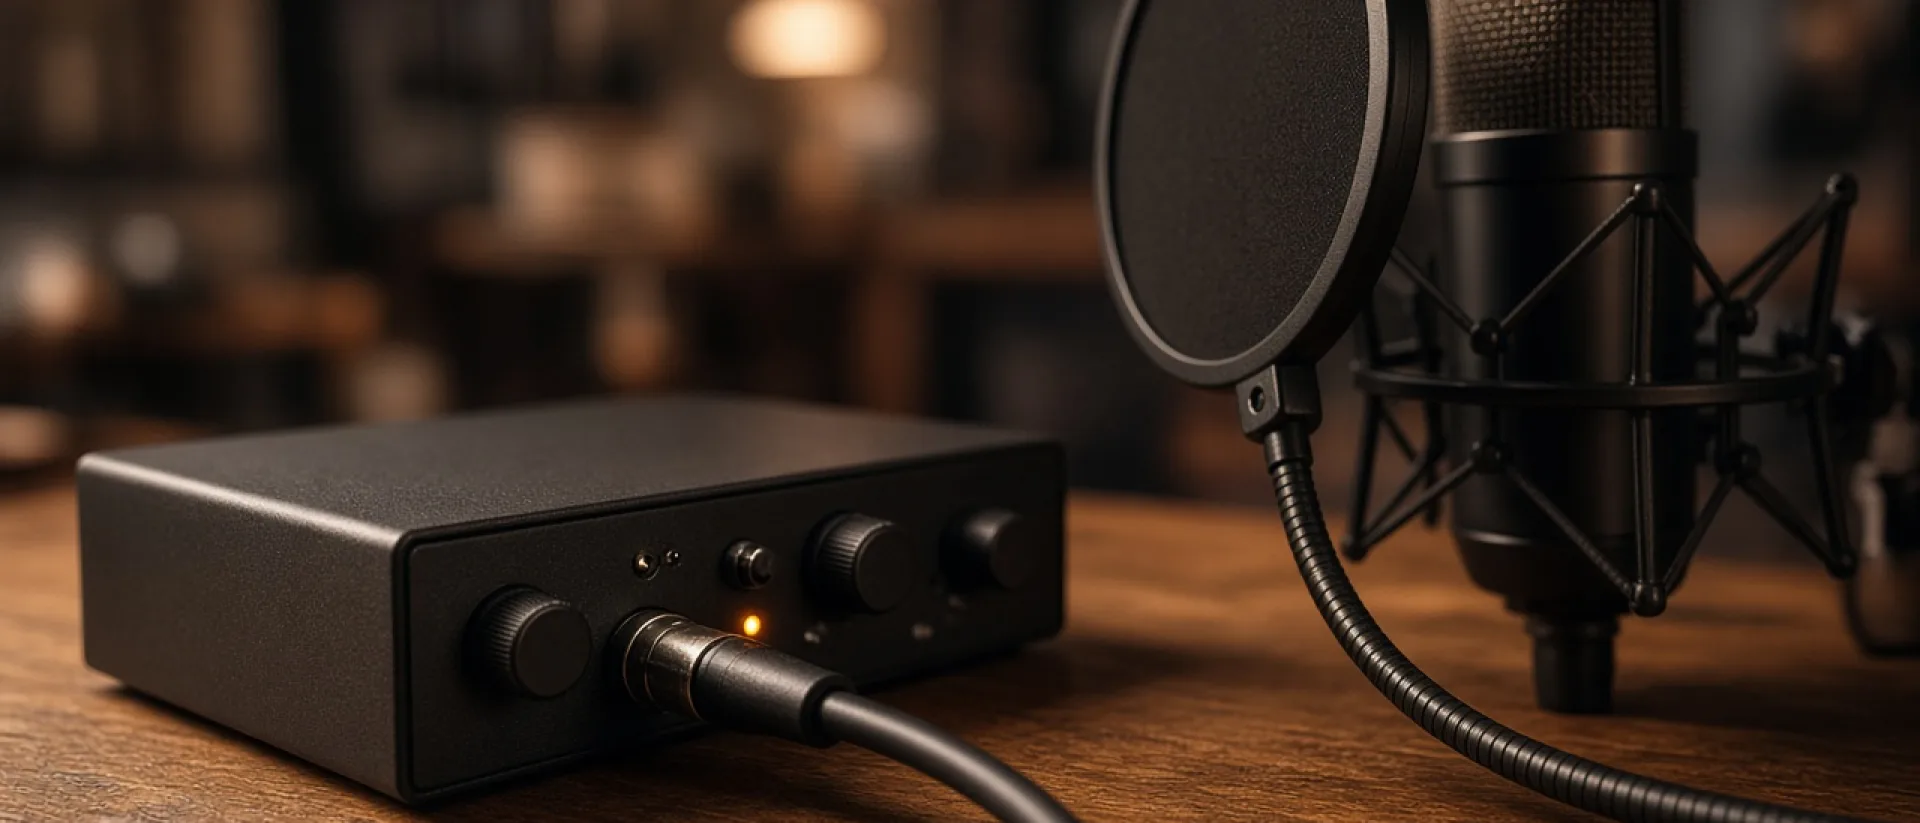
The audio interface is the device that carries the analog signal from your microphone into the computer and sends the sound from the computer to your monitors. The quality of its preamps and AD/DA converters determines the basic character of your recordings.
At entry level, a USB-connected model with phantom power (+48V) support and low latency will do the job. Points to watch: enough inputs, the quality of the headphone output, driver support and compatibility with your computer. If you use Windows, choose a device with ASIO driver support; it solves latency problems to a large extent.
At a more advanced level, you can move up to Thunderbolt-connected interfaces with more channels and external preamps. But only do this once you have genuinely reached the limits of your current equipment.
Choosing a microphone: starting with one is enough
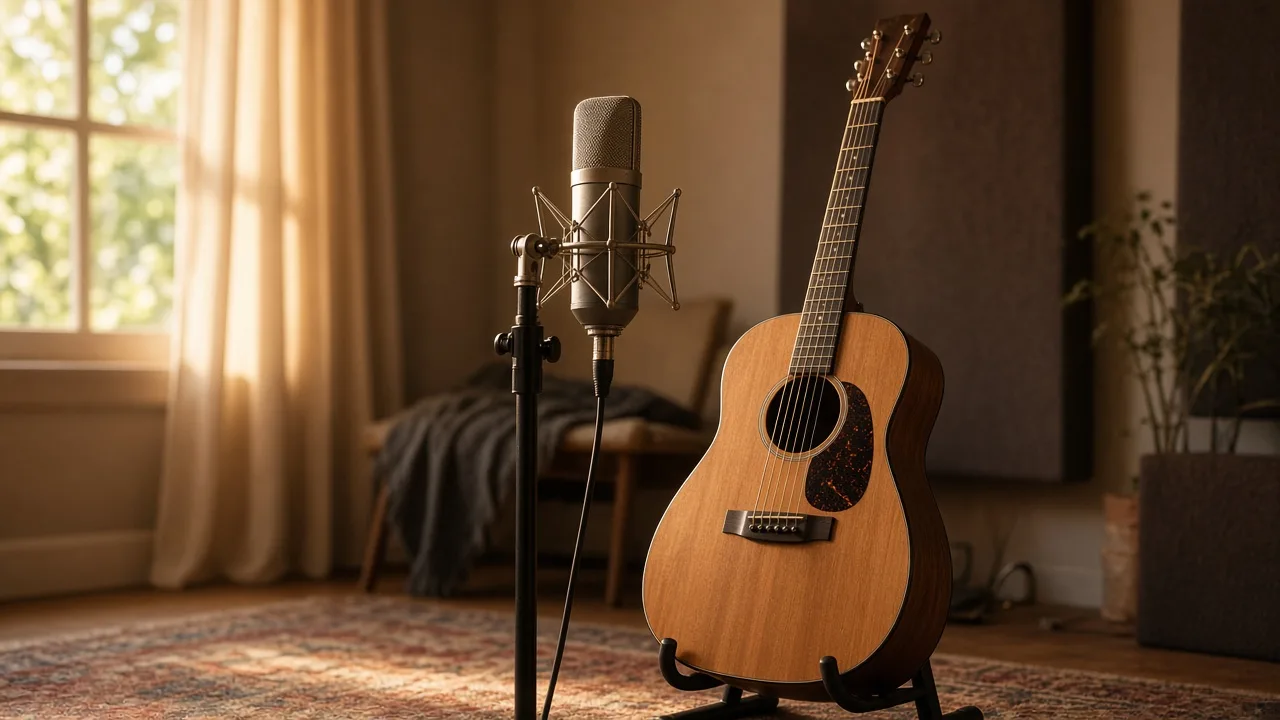
The most commonly chosen option in a home environment is the large-diaphragm condenser microphone. It captures detail on vocals and acoustic instruments, but it also picks up the sound of the room. If your room has not been acoustically treated, a dynamic microphone (for example, the common models used for vocals and guitar amps) can give cleaner results by picking up fewer room reflections.
For a first microphone, it is a smart move to buy a versatile, reliable model that also has a second-hand market. A microphone stand, a pop filter and a good-quality XLR cable must be added to this list as well. They look like small details, but they directly affect the cleanliness you are after in a recording.
For more comprehensive information about microphone placement, room acoustics and vocal techniques, you can also read our tips for acoustic recording at home.
Studio monitors and headphones
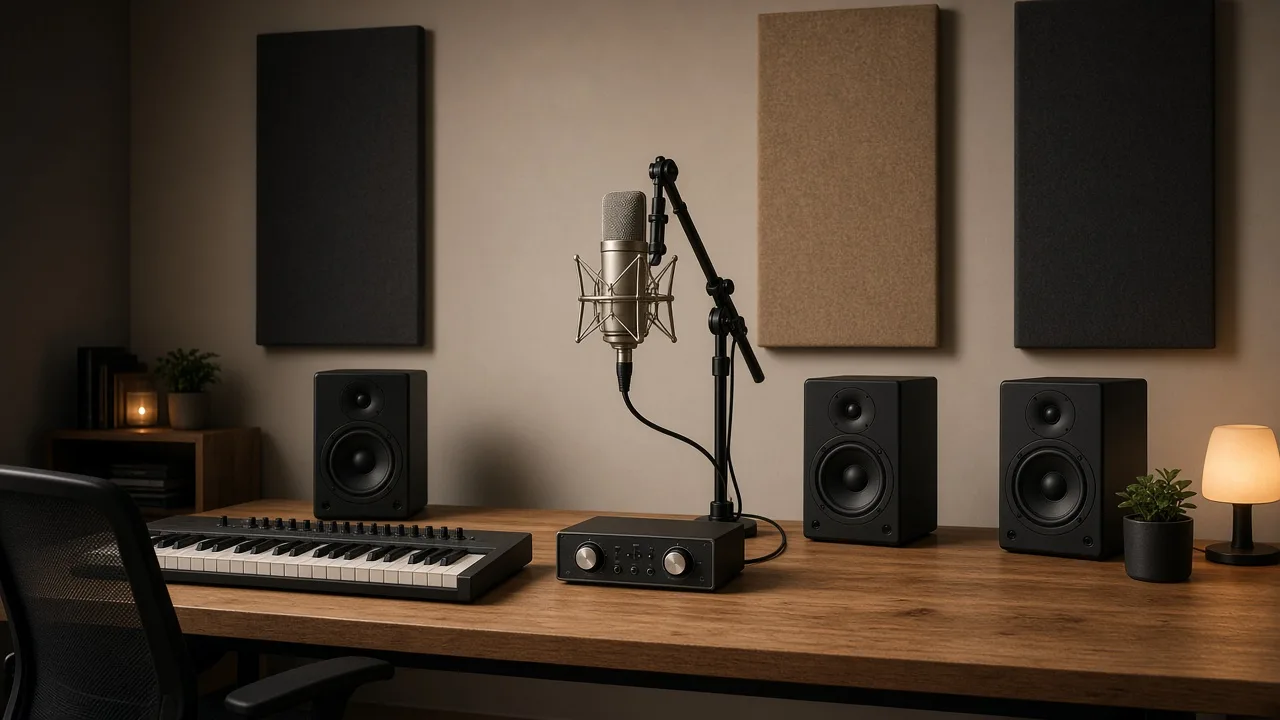
Mix quality is directly related to what you hear. Regular hi-fi speakers color the sound and make it look pleasant; studio monitors try to show it as it is. To start with, active nearfield monitors of around 5 inches are more than enough for small rooms. A larger woofer in a small room only magnifies the bass problem.
Position the monitors at ear height, with the two speakers and yourself forming an equilateral triangle. Placing them too close to the wall inflates the bass region. Using isolation pads or stands prevents desk vibration.
When it comes to headphones, there are two separate needs: closed-back headphones during recording (so they don't leak) and open-back headphones for reference during mixing. It is possible to try to do both with a single pair, but a closed-back model works more comfortably for recording and an open-back model for checking.
Acoustic treatment: the room comes before the equipment
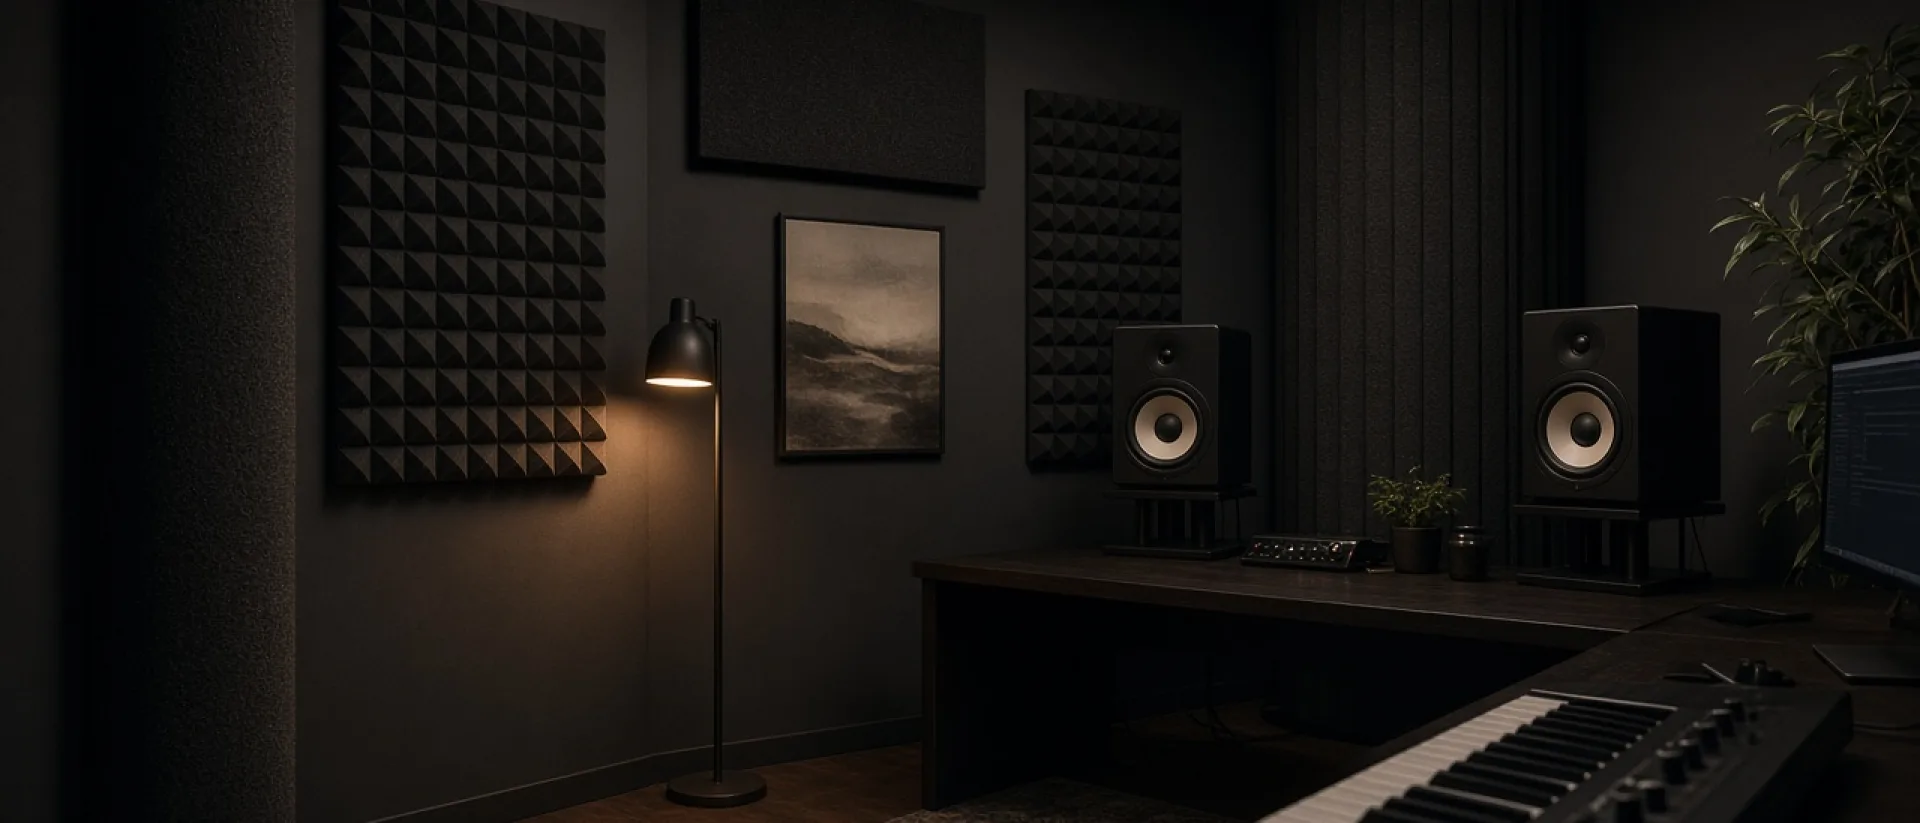
Many people buy a microphone and monitors first and then wonder "why do the recordings sound bad". The answer is often the room itself. Parallel walls produce flutter echo, corners accumulate bass, and hard surfaces leave room sound in the recording.
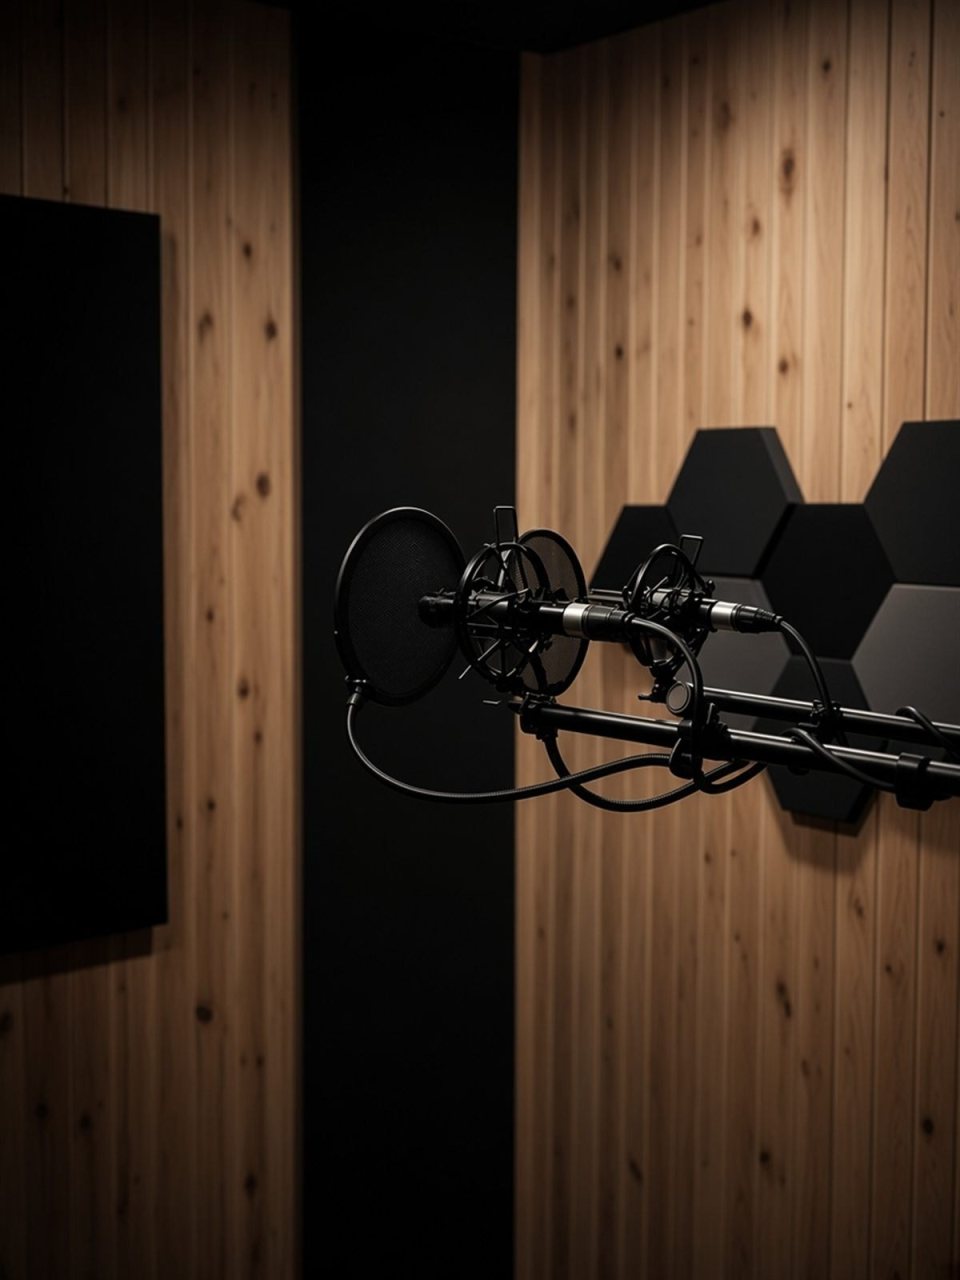
To start with, a few quality acoustic panels and bass traps in the corners make a big difference. Covering the reflection points in front of and beside the listening position improves your mixing decisions. Solutions such as old blankets, rugs and bookshelves work temporarily but should give way to professional materials. For a deeper look at this subject, you can check our acoustic recording at home article.
The most common mistake in small rooms is covering all the walls with the same material. In reality the problem is usually in the bass region, and thin foam does almost nothing there. Thick bass traps placed in the corners, panels placed on the first reflection points and a cloud panel on the ceiling provide far more benefit for a small fraction of the cost. Placing the listening position against the short wall of the room rather than the long wall also often improves the result.
Monitor calibration is another step most people skip. Keeping the listening level too high tires the ear quickly and you make wrong decisions about the bass balance. Working at a comfortable level, around conversation volume, both protects your ears and produces more consistent mixes. Measurement software that helps correct the bass character of the room is also a tool you can invest in over time.
Software (DAW) and plugins
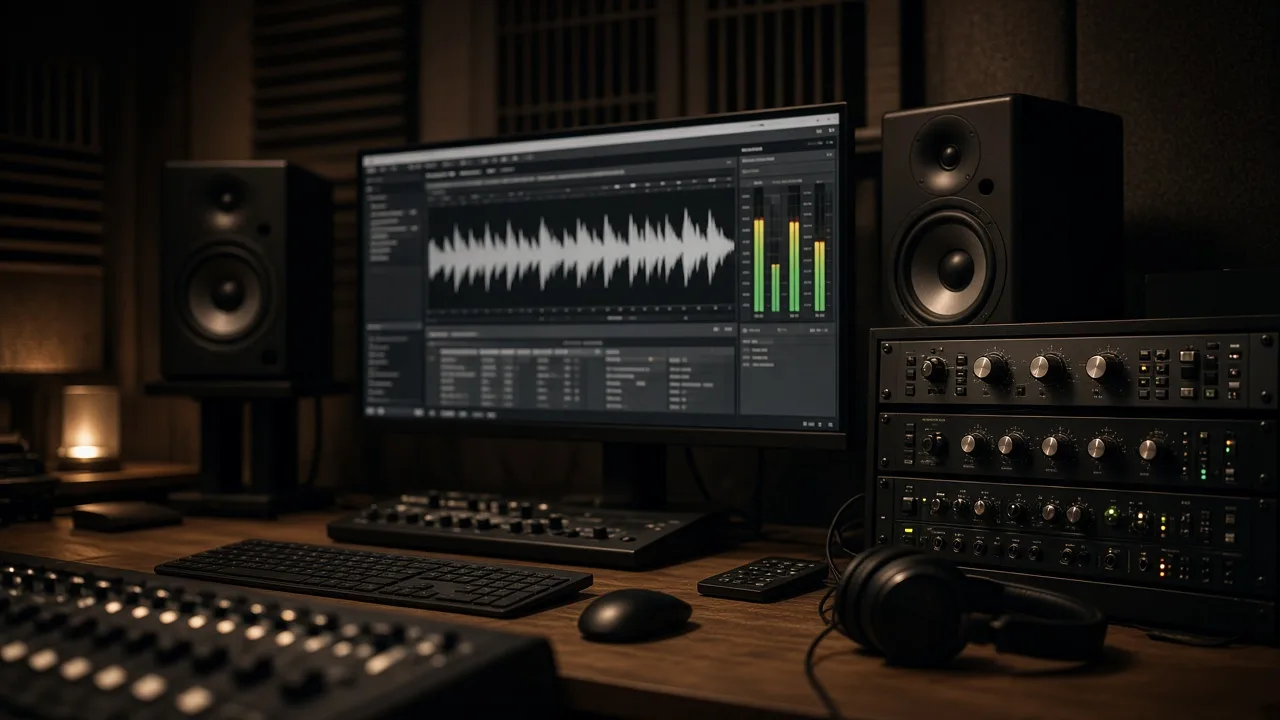
Choosing a DAW is entirely a matter of personal preference and workflow. Professional results are possible with all of the options, such as Ableton Live, Logic Pro, FL Studio, Cubase, Reaper and Pro Tools. What matters is focusing on one and learning it well. Constantly switching programs slows your progress.
On the plugin side, too, your DAW's own plugins are enough for most jobs at the beginning. A metering tool (LUFS and spectrum analyzer) and a good EQ and compressor set are the most useful investments you can add over time. For common mistakes in this area, see our article the 5 biggest mistakes in mixing and mastering.
If you want to learn production and beat-making, our music production training teaches you the fundamental logic regardless of which software you work with. For equipment comparisons and technical reviews, Sound On Sound is a reliable source; on the software and measurement side, iZotope Learn offers practical guides.
Computer and storage: the invisible infrastructure
Audio recording demands stability more than processing power. A new multi-core processor, enough RAM (at least 16 GB) and a fast SSD keep your DAW running smoothly. In large projects, sample libraries and audio files need to be read quickly; so it is wise to separate the system drive from your projects and use a separate SSD.
No studio is safe without a backup plan. Store your projects in at least two different places, for example an external drive and cloud storage. Re-recording a take is often impossible; a good performance is captured once. Also, turning off background updates and notifications in the operating system during recording prevents unexpected interruptions.
Be generous with the display too. Being able to comfortably see channels, plugins and waveforms in a DAW speeds up your workflow. A second monitor is one of the most practical investments when mixing and recording.
Cables, stands and small but important accessories
Accessories are usually forgotten in budget plans. Yet items such as good-quality XLR cables, a sturdy microphone stand, a headphone splitter, a MIDI keyboard and a USB hub shape your daily workflow. A bad cable or a loose stand can interrupt a recording session needlessly.
Don't neglect the power side either. A surge-protected power strip reduces outlet-related noise and sudden voltage fluctuations. In cities like Antalya, where heat and humidity are high in the summer months, ventilating the equipment and controlling humidity are also important for a long life.
If you produce music, a MIDI keyboard also gives you a serious speed boost. A velocity-sensitive keyboard with four or five octaves makes writing melodies, trying out chords and programming rhythms with drum pads much more natural. Entering notes with only a mouse is possible, but it slows the creative flow. At the beginner level, a compact model is more than enough.
Where to start? A sample roadmap
If your budget is limited, follow this order: first a good audio interface and headphones, then a single versatile microphone, then monitors, and finally room acoustics and plugins. Going in order lets you buy what you truly need at each step.
If you want to try something before buying it, you can visit our studio in Antalya. And instead of finishing the recordings you prepare on your own, you can get professional support for mixing and mastering.
Frequently asked questions
What should the minimum budget for a home studio be?
A basic recording setup can be built with an audio interface, a microphone, closed-back headphones and cables. Extra budget is needed for monitors and acoustic treatment; the total amount varies entirely with your needs and brand choices.
Should I buy a condenser or a dynamic microphone?
If your room is acoustically treated, a condenser microphone gives more detailed results. In an untreated room, a dynamic microphone picks up less room sound. If you can't decide between the two, starting with a dynamic is a safe choice.
Can I mix with only headphones instead of monitors?
You can, but it becomes harder to judge the stereo image and bass balance correctly. If you work with headphones, definitely use reference tracks and test the mix on different systems.
How many inputs should an audio interface have?
If you record vocals or guitar alone, two inputs are enough. If you will record drums or a band, you need at least four, preferably eight inputs.
Conclusion
A good home studio is not about owning the most expensive equipment; it is about buying the right pieces in the right order and getting to know your room. If you would like to work in a professional environment until you complete your own setup, you can check out our audio recording and production service and reserve a spot at the Art N Craft studio through our booking page.