

In this article
- Choosing the right room: the most important decision
- Acoustic treatment: soundproofing and reflection control are not the same thing
- Microphone choice and placement
- Gain setting and a clean signal
- Background noise and recording habits
- Headphones, monitors and what to watch while listening
- Performance, repetition and recording preparation
- After recording: preparing for editing and mixing
- When should you move to a professional studio?
- Frequently asked questions
- Conclusion
When you want to record acoustic guitar, vocals, piano or percussion, the room in your home can be your biggest opponent. Even if the microphone is expensive and the audio interface is clean, if the room is bad the recording sounds as if it was "made in a bathroom". The good news: home acoustic recording can give surprisingly good results with a few right moves.
At Art N Craft, we have witnessed the recordings that many musicians in Antalya make in their home environments. In this article we explain the most effective tips for acoustic recording at home, with practical solutions drawn from everyday life.
Choosing the right room: the most important decision
The place where you record at home matters even more than the equipment. A small, empty room surrounded by hard surfaces (for example a bathroom or an empty living room) produces harsh reflections. A bedroom with furniture, carpets and curtains often gives better results.
Walk into the room and clap your hands loudly. If you hear a metallic echo or a "zing" sound, there is flutter echo. In that case you need to cover the reflection points with soft surfaces. Rooms that are not rectangular, have different ceiling heights or are asymmetrical offer a more balanced sound character than square and cube-shaped rooms.
Don't forget outside sounds either. Traffic, neighbors, the air conditioner and the refrigerator directly affect recording quality. Even small moves like turning off the refrigerator and stopping the air conditioner before recording change the result.
Acoustic treatment: soundproofing and reflection control are not the same thing
People often think that egg cartons or foam padding will turn a room into a "studio". In reality there are two separate subjects: soundproofing (keeping sound from passing out of and into the room) and acoustic treatment (controlling reflections in the room). An acoustic panel does not provide soundproofing; it only shapes the interior sound of the room.
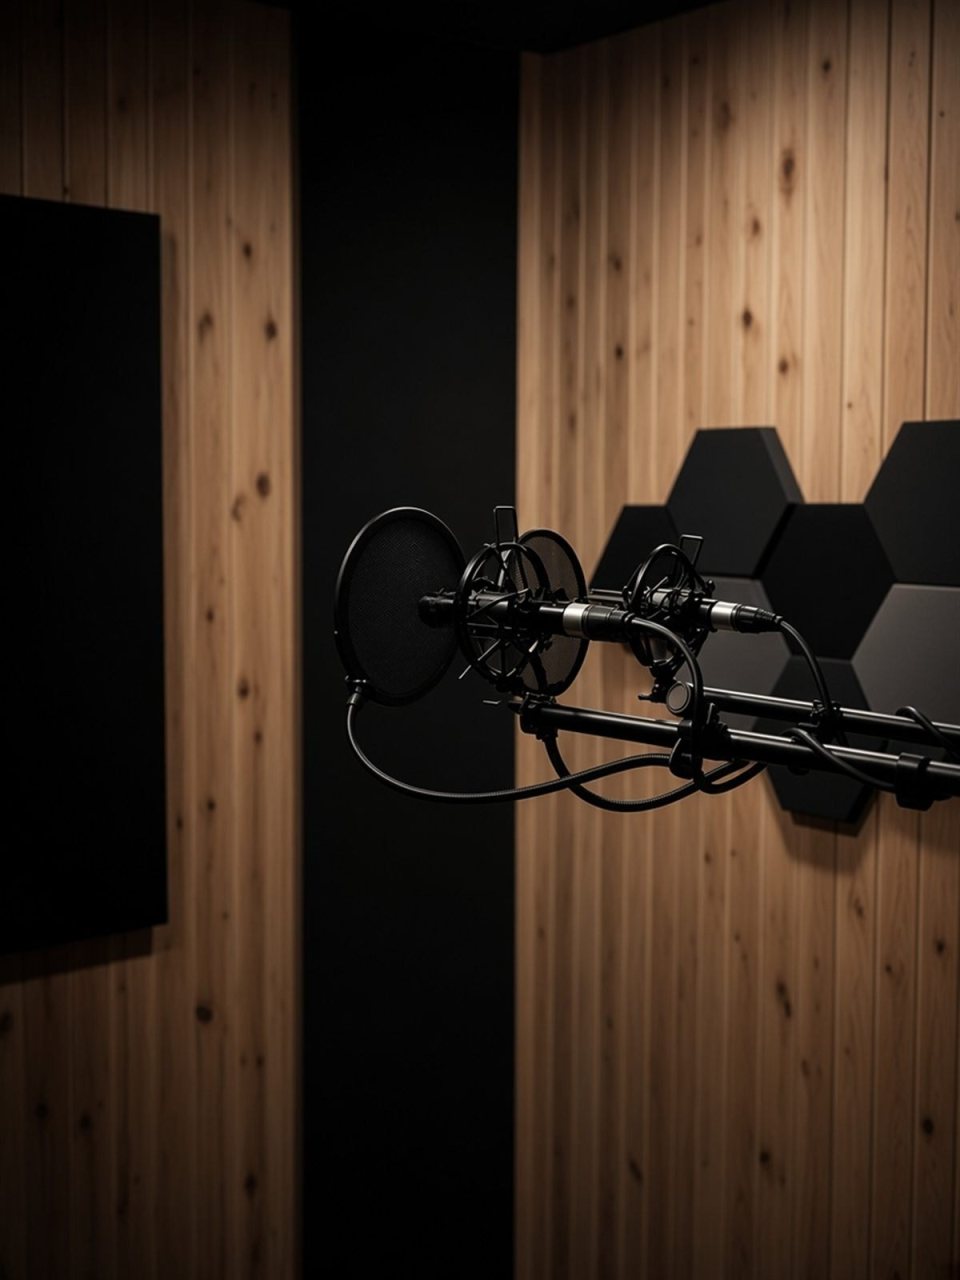
The starting point for home recording is covering the surfaces behind and beside the microphone with absorbing material. Thick blankets, a movable acoustic screen or a heavy curtain can be easily set up and taken down at recording time. Bass traps placed in the corners reduce the build-up of low frequencies. For high-frequency reflections, panels positioned behind the microphone make a noticeable difference on vocal and guitar recordings.
Making the room completely dead is also a mistake. Acoustic instruments come alive with a little natural room sound. The goal is to remove uncontrolled reflection, not to destroy the whole character of the room.
Microphone choice and placement
For acoustic guitar, small-diaphragm condenser microphones are often preferred; they give detail and natural tone. For vocals, a large-diaphragm condenser or a dynamic microphone can be used. If your room is untreated, a dynamic microphone is advantageous because it picks up less room sound. For detailed information about equipment selection, you can look at our home studio equipment recommendations.
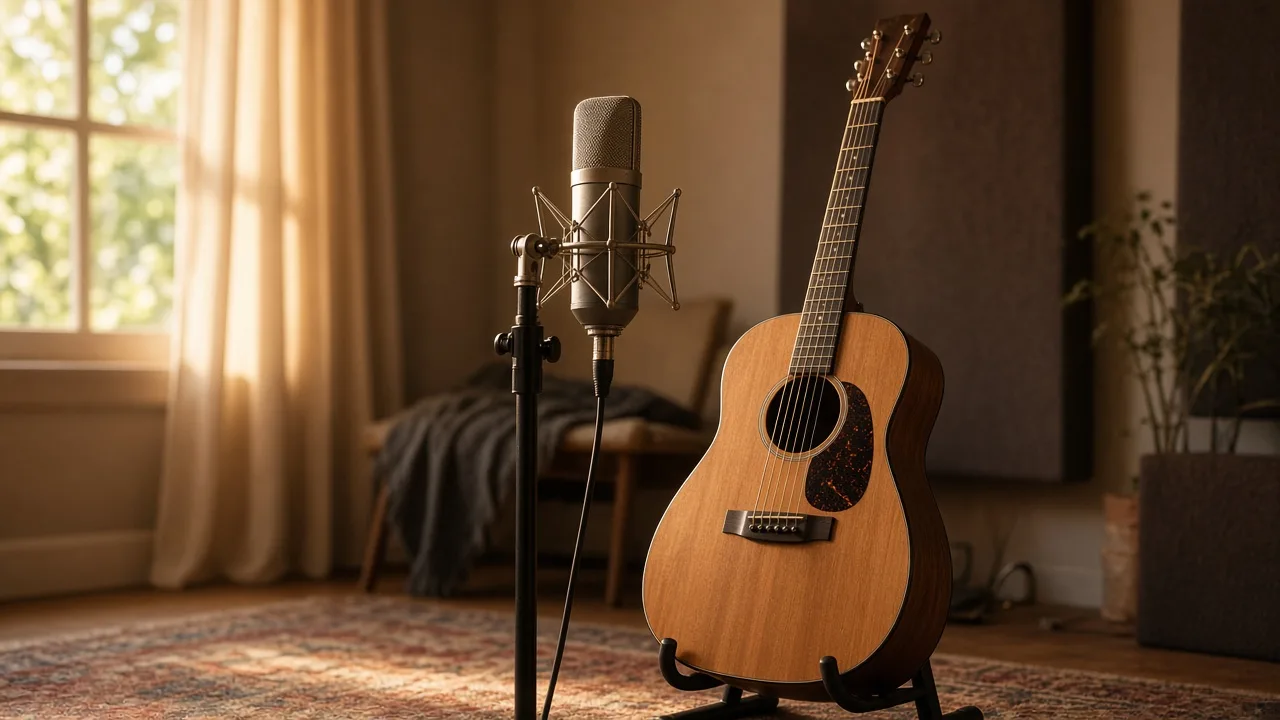
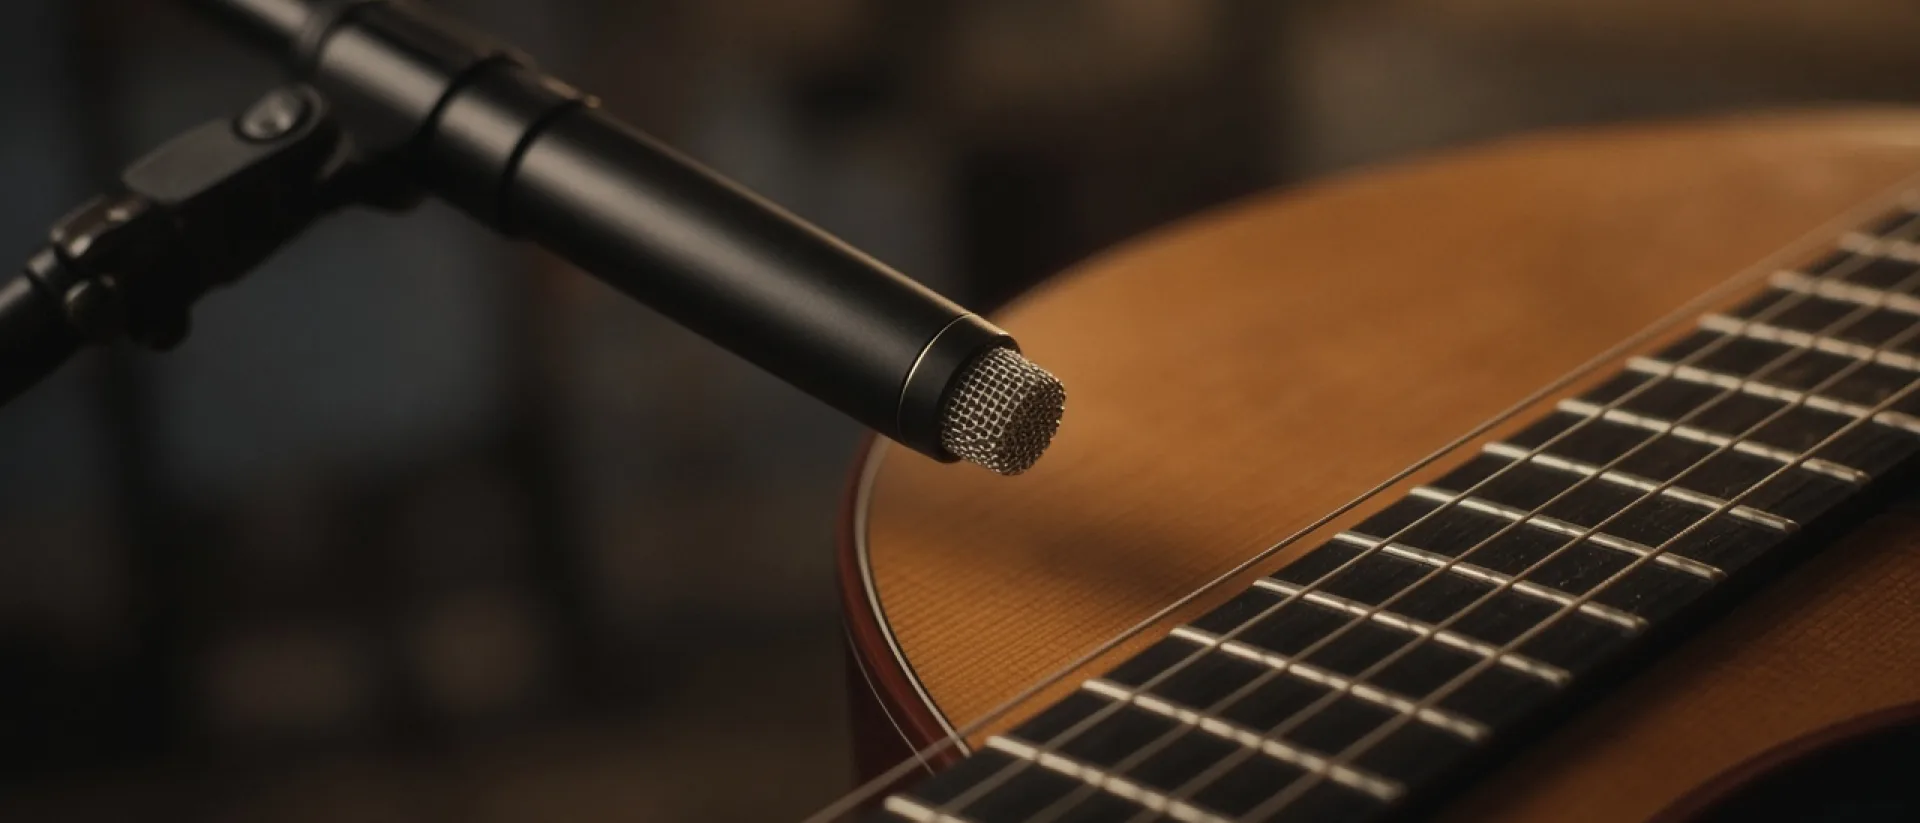
On an acoustic guitar, pointing the microphone directly at the sound hole inflates the bass region and gives a boomy sound. Instead, placing the microphone in the area between the 12th fret and the sound hole, about 15-30 cm away and at a slight angle, gives a more balanced tone. Stereo recording with two microphones adds depth to the instrument. However, when using two microphones you need to pay attention to phase coherence; check by listening in mono.
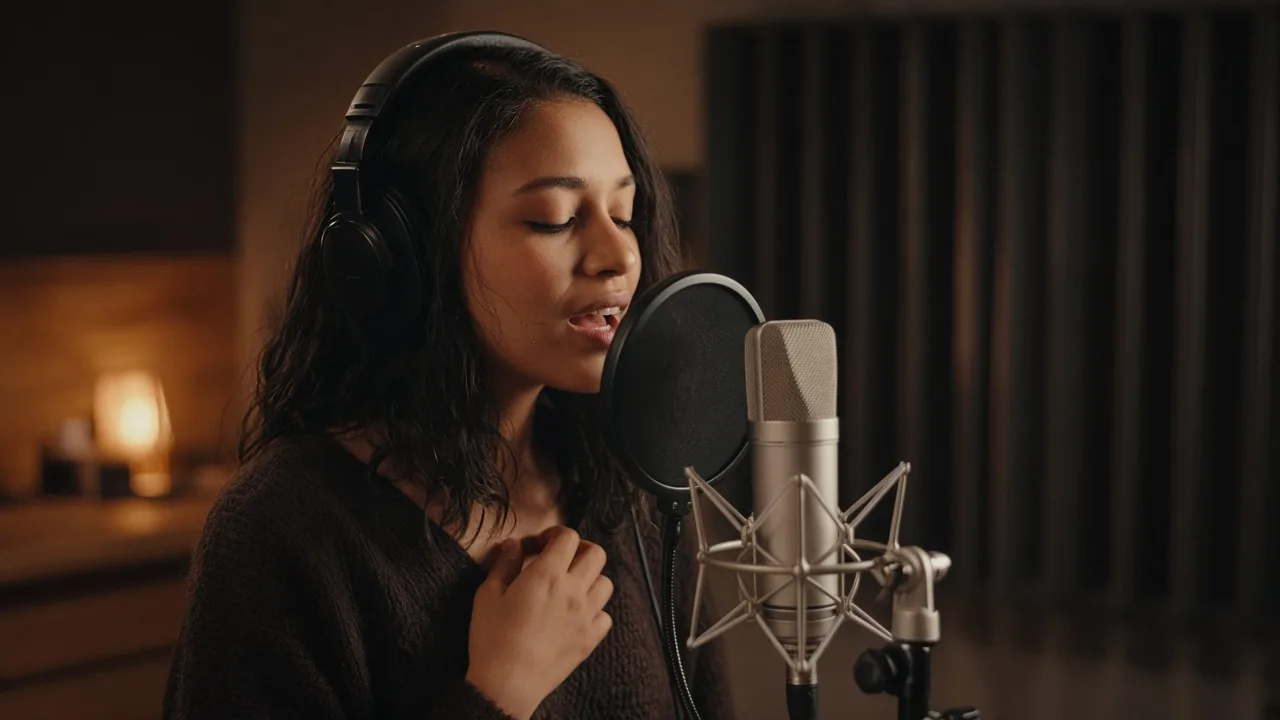
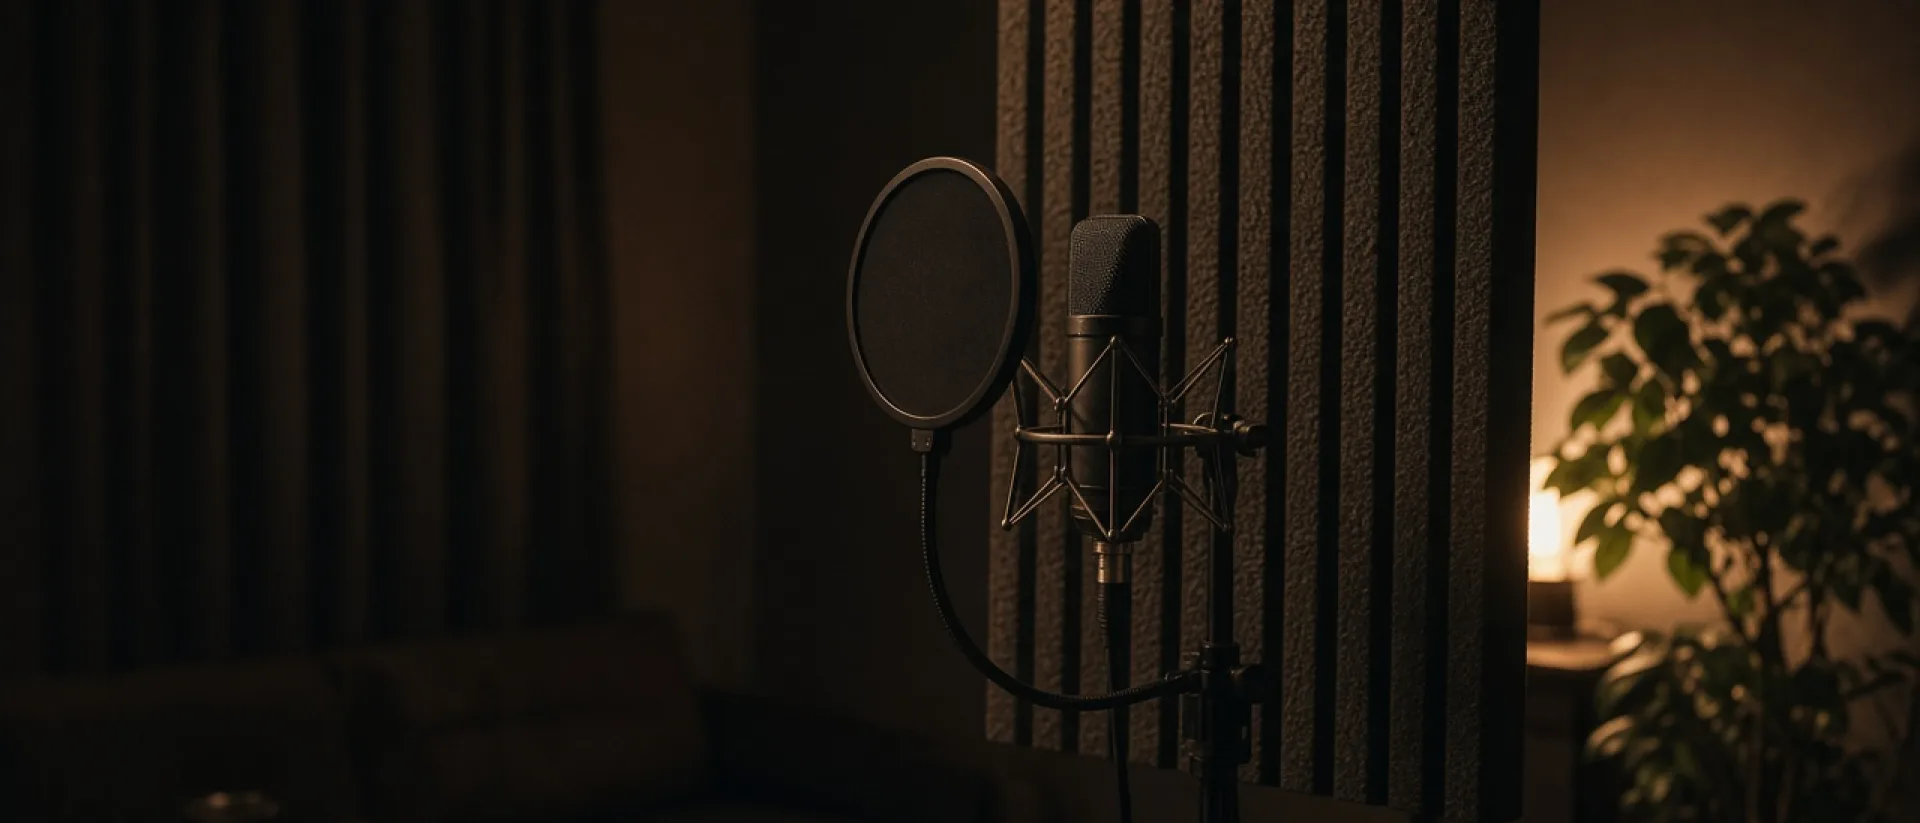
For vocals, use a pop filter, keep the distance between the microphone and the mouth at around 15-20 cm, and position the microphone slightly above or to the side. This reduces p and b plosives.
Microphone distance is one of the parameters that changes the tone the most. Because of the proximity effect, bass increases at close range; as you move away, the sound thins out and room sound increases. At home, if your room is not very good, keeping the microphone a little closer to the instrument reduces the room's influence. However, getting too close also makes the tone unnatural. Experiment with movements of a few centimeters, record each one, and then compare them on headphones. Finding the microphone position by ear is more reliable than most theoretical advice.
Keep the microphone on a stand or a strong boom, isolated from vibration. A microphone placed on a table also picks up knocks and footsteps from the table. A shock mount (spider mount) greatly reduces this problem.
Gain setting and a clean signal
Keeping the input level too high while recording is still one of the most common mistakes. In a digital system, clipping is a distortion with no way back. Keeping the average level between -18 and -12 dBFS leaves plenty of room at the peaks.
Acoustic instruments are sources with high dynamics; there can be a big difference between quiet and loud passages. Try the loudest section first and set the gain accordingly. Then check at normal playing level. You don't have to use a compressor while recording; you can compress as much as you like at the mixing stage, but you can't un-compress the recording.
The quality of the files you record determines all the later stages. We have collected the common mistakes on this subject in the article the 5 biggest mistakes in mixing and mastering.
Background noise and recording habits
It is not only loud sounds that spoil a recording. Even low-level sound comes forward with compression during mixing. A computer fan, a light ballast, an air conditioner, even the movement of the microphone cable can get onto the recording.
As a practical habit, record a few seconds of "room sound" before every session. This recording is very useful for getting to know the noise profile and noticing problems early. If noise remains after recording, we explained how to clean it up in our article can a vocal recorded in a noisy environment be saved.
Small sounds such as squeaky shoes, a chair creaking, phone vibration and a guitar strap should also be checked before recording. The phone should be put in airplane mode and computer notifications muted.
Headphones, monitors and what to watch while listening
Always use closed-back headphones while recording. Open-back headphones or monitor speakers leak the sound of the metronome or playback you are playing along to into the microphone. In vocal recording, keeping the headphone volume too high both causes leakage and ruins intonation. When you hear your own voice too loudly, the tendency to drift flat increases.
If you are going to record acoustic guitar and vocals at the same time, use separate microphones and keep the distance between them. That way you can process each source independently afterwards. Reverb in the headphones relaxes the vocalist's performance; however, don't print this effect to the recording, use it only on the monitor channel.
Performance, repetition and recording preparation
Performance determines recording quality as much as the technical details do. Before playing, check the tuning and string condition of the instrument; even new strings change the tone of a recording. Using a metronome or a reference track makes the later editing and mixing stages easier.
Playing the same piece for a long time leads to fatigue and poor performance. Taking short takes and listening in between rests both the ears and the hands. Recording several different takes and combining the best sections (comping) is a common professional method, especially for vocals.
After recording, store the files in organized folders with the date and take number. Don't skip backups either; a lost recording may never be captured again. Once the recording is well captured, it's time for the mixing and mastering stage.
After recording: preparing for editing and mixing
When the recording is finished, the job isn't done. Listening to the takes and choosing the best sections, cutting unnecessary gaps at the beginnings and endings and applying short fades prevents problems at the mixing stage. Don't completely delete breath sounds while editing; too much cleaning makes the vocal sound artificial.
If you are going to send the recording files for mixing, export the raw recordings unaltered, without plugins and from the same starting point. That way the engineer can line up all the channels without trouble. For details about file format and bit depth, you can look at the article what format should mix and mastering files be in.
Learning what to avoid when recording at home and how to manage noise problems saves you from wasting time later. If you want systematic training in this area, our music production training covers the recording, editing and mixing stages together.
Season and time of day also affect the recording. When recording in Antalya in the summer months, air conditioner noise and heavy activity outside can be a problem; so it is wise to prefer quiet hours, that is, early morning or late at night. Playing acoustic guitar with sweaty hands makes the strings rust quickly, which causes the tone to change in the middle of the recording. Keeping a small towel and spare strings on hand is therefore a good habit.
When should you move to a professional studio?
Recordings made at home are enough for demos, idea development and many independent releases. However, in some cases a professional environment makes a difference: drum and band recording, high-quality vocals, piano or delicate acoustic instruments. At our studio in Antalya you can work with an acoustically treated room and high-quality microphone and preamp options.
If you want to read in depth about acoustic recording techniques and microphone placement, the Sound On Sound archive is very valuable. For listening and room acoustics standards, you can look at the resources of the Audio Engineering Society.
Frequently asked questions
What is the best room for recording acoustic guitar at home?
A non-square room with carpet, curtains and furniture generally gives the most balanced result. Avoid empty rooms with hard surfaces, especially the bathroom.
Can I record without acoustic panels?
Yes. Reflections can be reduced with items such as thick blankets, a bed or a bookshelf. Still, in the long run professional panels give much more consistent results.
Is a pop filter necessary for vocal recording?
We definitely recommend it. It reduces plosive sounds such as p and b and protects the microphone from moisture. Place it 5-7 cm away from the microphone.
If the recording quality is low, can it be saved in the mix?
Some improvement is possible, but it is hard to fully fix a bad recording. The best thing is to capture the recording correctly at the source.
Conclusion
The secret of success in home acoustic recording is choosing the right room, measured acoustic treatment, a calm gain setting and a patient performance. If you want to take your recordings to the next level, you can check out our audio recording and production service and plan a session at Art N Craft through our booking page.