

In this article
You've recorded the song, the arrangement has settled, and now it's time for mixing and mastering. At exactly this point the same question always comes up: "In what format should I send the files, and what will I receive at delivery?" WAV or MP3, 16-bit or 24-bit, 44.1 or 48 kHz? A job that starts with the wrong format can suffer quality loss at the very first step, and that loss can't be recovered later.
In this article we explain, through a studio's eyes and in plain language, which formats are right on both the mixing and mastering sides. We'll try to give you answers that are useful in the field without dragging out technical terms unnecessarily.
The right format for mixing: WAV and 24-bit
Our one-sentence answer for the mixing stage: send every track separately, in WAV format and at 24-bit. Don't use MP3, AAC or any other compressed format. Compressed files have already lost information; every process applied during mixing makes that loss more noticeable.
24-bit gives you a wide dynamic range in the audio file. You don't have to keep the level very high while recording, and during mixing we can comfortably work on fine details. Recordings made at 16-bit are workable but make the noise floor more audible in low-level sections. If you like, you can also capture files as 32-bit float during recording; that's fine too, and we can convert to 24-bit before the mix.
Sample rate
The most important rule about sample rate is consistency. If you started the project at 44.1 kHz, deliver it at 44.1 kHz; if you started at 48 kHz, deliver at 48 kHz. Converting afterwards is possible but an unnecessary step. For music releases 44.1 kHz is common, and if you are working for video or film, 48 kHz is often more suitable. If you aren't sure which to choose, ask us before you start recording and we'll decide together.
Stems or a single mixed file?
What needs to be sent for mixing is not a single bounced file; it is the individually exported tracks. Vocals, guitar, bass, drums, keyboards: each should arrive as a separate WAV. All of them should start from the same point, that is, the very beginning of the song, and be the same length. That way, when we drop the files into the session they all line up directly and we don't waste time.
Should you send them with effects or dry?
We hear this question a lot. Exporting the effects you used while recording, such as reverb, delay or automatic pitch correction, as separate files gives us flexibility. The ideal method is to send each track as two separate files, dry and with effects. If you only have the effected version, that's not a problem, but a dry recording is always safer. That's because during the mix we want to readjust the amount of effect according to the overall balance of the song.
It's also worth sending mono sources as mono files. Converting a vocal recorded with a single microphone to a stereo file only doubles the file size and adds nothing to the sound.
Common mistakes when sending files
Listing the problems we run into most often in projects that come to the studio gives you an idea for preparing in advance. We touched on this in our article 5 big mistakes in mixing and mastering; here we focus on the format side.
- Leaving effects on the master channel: A total output with a compressor or limiter left on doesn't let us do our job during mixing. Send the tracks without any master bus processing.
- Clipped files: If the peaks of the waveform are cut off, it is very hard to fix afterwards. Keeping the recording level between -12 and -6 dB is enough.
- Messy file naming: Instead of "audio_final_last_last2.wav", use clear names like "vocal_lead.wav" and "guitar_rhythm.wav".
- Settling for an MP3 reference: When sending a reference song, send a WAV if possible; that way we can read the target sound more clearly.
- Not providing tempo and key information: Noting the project's BPM and key saves time during editing.
If you record at home, your choice of equipment also affects this picture. Our articles equipment recommendations for a home studio and tips for acoustic recording at home show that the quality of the source sound matters as much as the format.
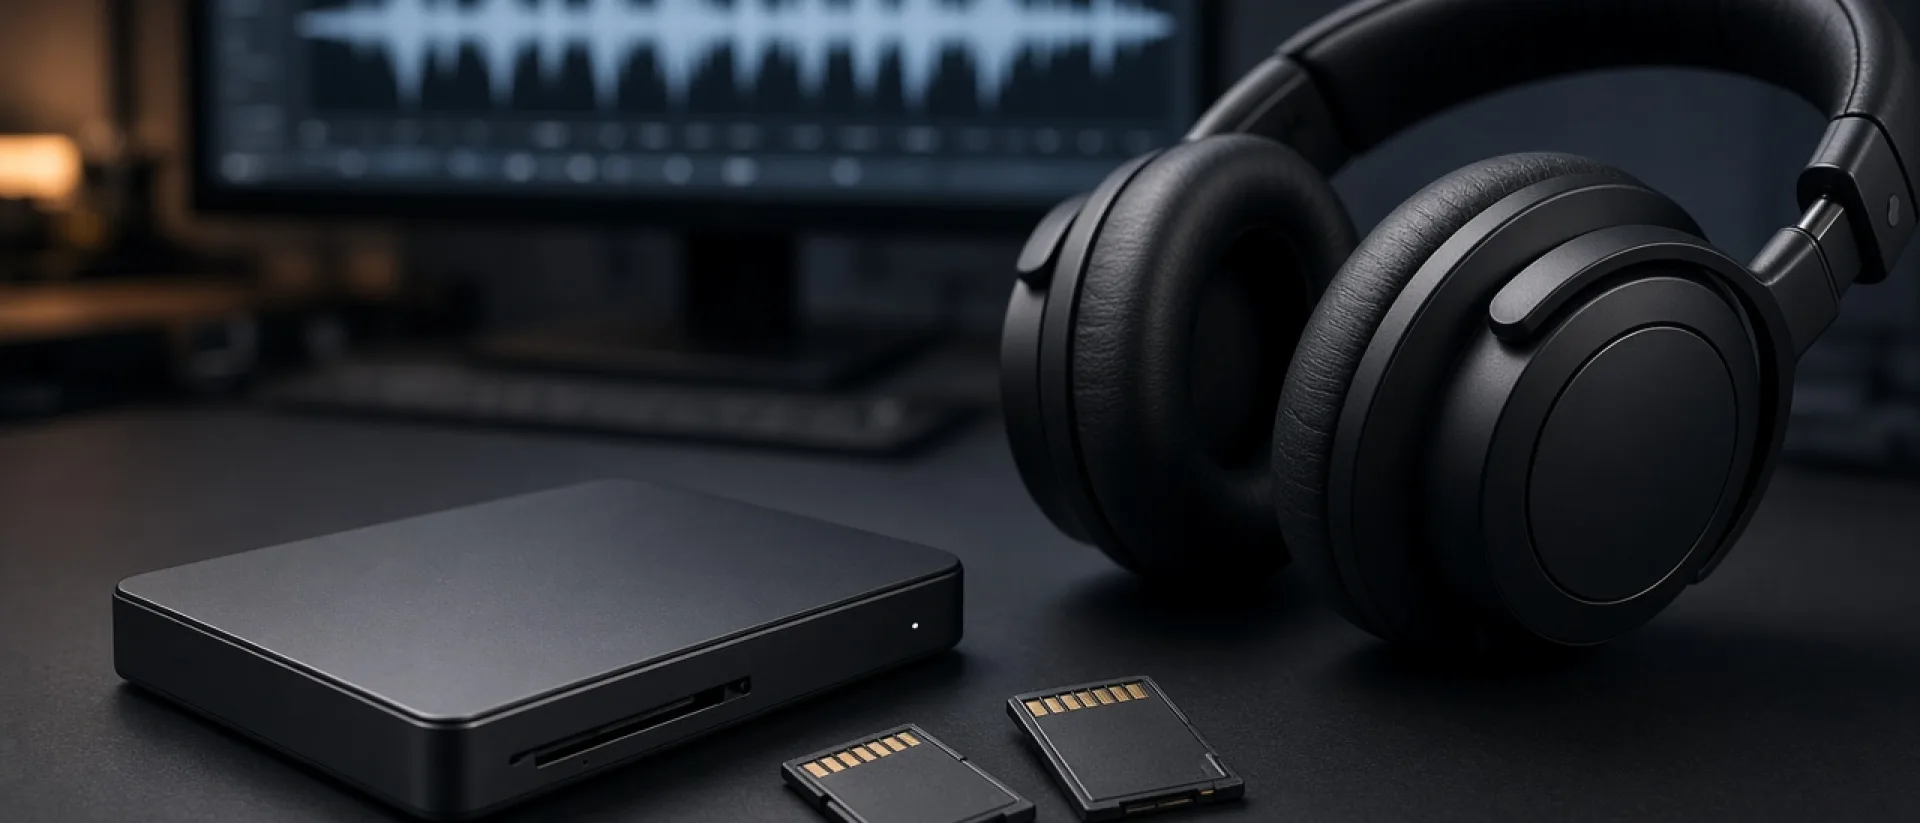
What should the format be for mastering?
The input file we want at the mastering stage is the finished mix: stereo, WAV, 24-bit or 32-bit float, at the project's original sample rate. The important point here is that the file has no limiter or heavy loudness processing on it. When finishing the mix, we recommend leaving a peak level of about -6 dB. This room lets us work on the dynamics freely during mastering.
Many people who think of mastering as "making the song loud" send a mix that has already been pushed to a high level. Yet the purpose of mastering isn't just loudness; it is to achieve balance, consistency, depth and a final sound that holds up on different systems. We carry out this process step by step in our mixing and mastering service.
Delivery formats after mastering
When mastering is finished, you receive not a single file but multiple formats depending on the intended use. They can be listed like this:
- WAV, 24-bit, original sample rate: This is the archive and main master file. When you need to convert to another format in the future, you start from here.
- WAV, 16-bit, 44.1 kHz: The standard requirement of most digital distributors. "Dither" is applied during conversion, masking the small distortions that arise as bit depth is reduced.
- MP3, 320 kbps: Used for quick listening, sharing and getting approval. It should never be used as the main master.
- Social media and video versions: For a video, an ad or Reels, versions at different levels and, if needed, shortened excerpts can be prepared.
Some platforms accept higher resolution. For example, Apple Music supports 24-bit high-resolution masters through its Apple Digital Masters program. It is worth checking the requirements according to the distributor you work with; but once your main master is 24-bit, you are ready for every eventuality.
Loudness and platform targets
An issue as important as format is level. Spotify, YouTube and similar platforms normalize songs to their own targets; that is why making the master louder than necessary often gives no advantage. In general, an integrated level of around -14 LUFS and a true peak limit of around -1 dBTP is a safe target for many platforms. However, this value can vary according to genre, the song and the artist's preference; a hard rock song and an acoustic ballad should not be forced to the same level.
If you're curious about this topic in more depth, take a look at our article why does your song sound quieter on Spotify. For those curious about measurement standards in broadcast and television, the EBU R128 loudness recommendations are also a good resource.
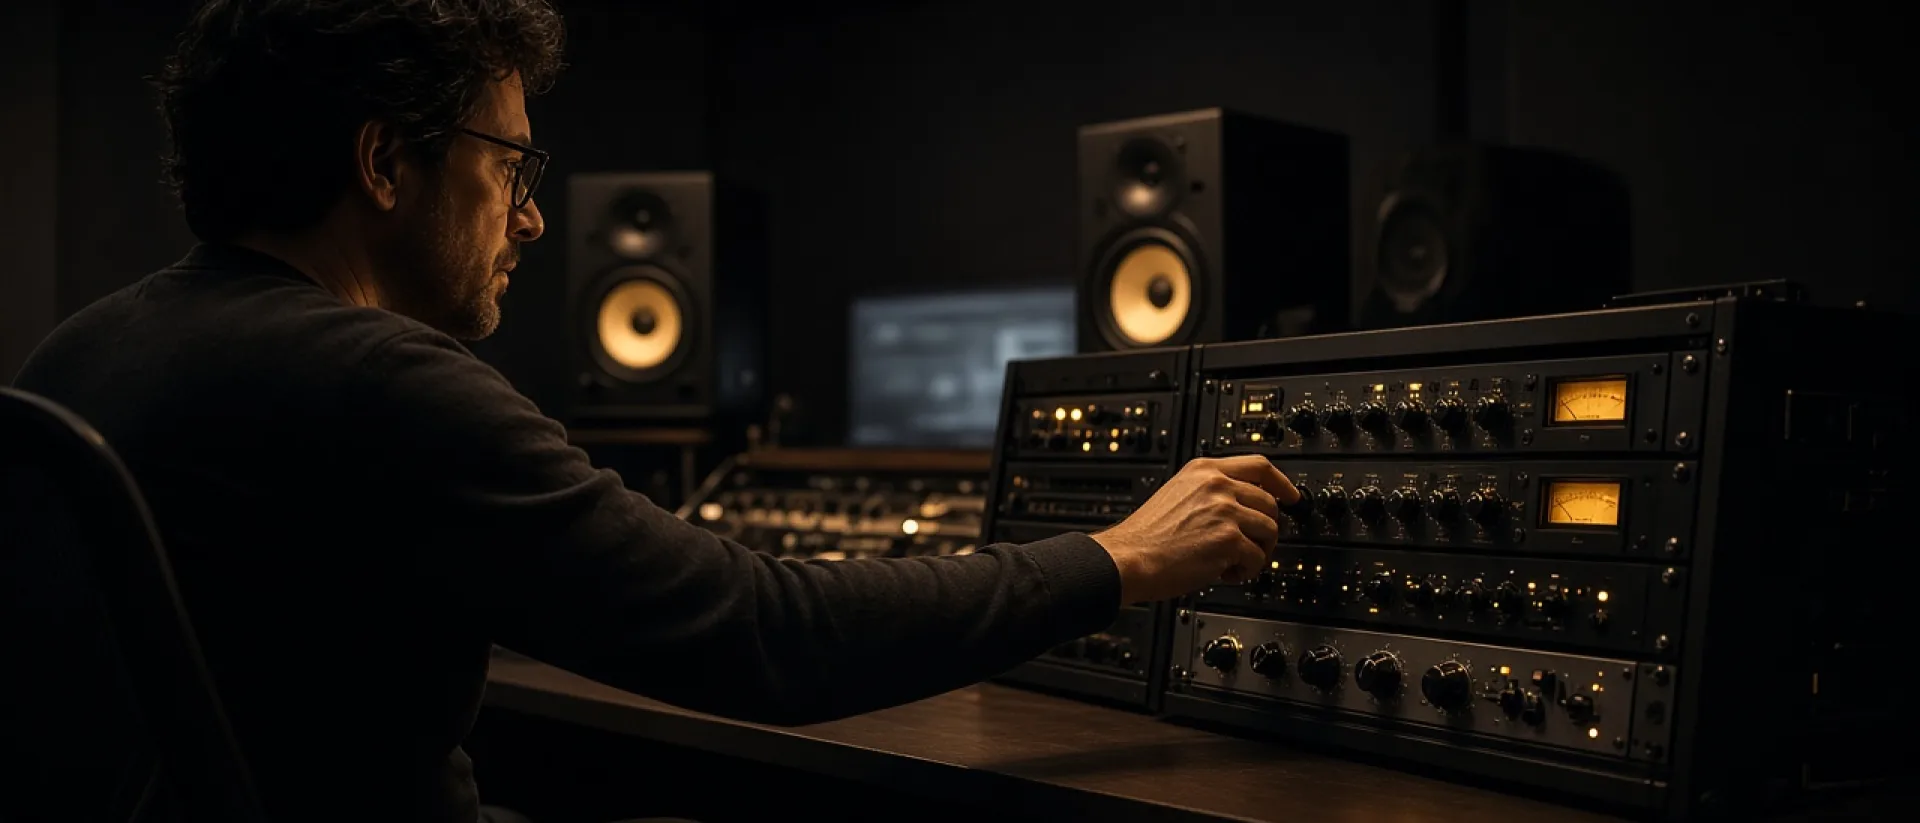
Practical tips for file delivery and organization
Besides the technical details, an organized delivery process also speeds up the work. Before sending the project, we recommend setting up the folder structure like this: the main folder carries the song's name, with two subfolders inside called "tracks" and "reference". In the reference folder you can put examples of similar songs you like. Also add a short notes file: the BPM, the key, the sections you'd like us to pay special attention to, and any problems you'd like fixed.
If the recording quality is low, it isn't possible to fix everything with the mix. To deal with problems like background noise, ambient noise or room echo, you can look at the article what is background noise and how is it cleaned. If you want professional support from the recording stage onward, you can start the job from scratch with the right format through our sound recording and production service.
After mastering, some projects also ask for additional versions: an instrumental version, an a cappella, or a TV mix. Planning these in advance at the mixing stage gives an advantage in both time and cost. Especially if you're thinking of a video, an ad or stage use, let us know before delivery; we'll prepare the versions in the same session, at the same level and consistently. That way you won't have to come back later asking, "Can we get that version too?"
Finally, when sharing files via the cloud, stay away from services that compress. You can send WAV files as a ZIP; ZIP is a lossless packaging method and doesn't touch the audio quality. Also back up the master you receive in two different places, because you may need it again years later.
Frequently asked questions
Can I send MP3 for mixing?
No, we don't recommend it. MP3 is a compressed format and the information lost doesn't come back. For mixing, send every track as WAV, preferably 24-bit.
At what level should I send the file for mastering?
Leave a peak level of about -6 dB at the mix output and don't use a limiter on the master channel. That way we have room to work on the dynamics during mastering.
Should I choose 16-bit or 24-bit?
24-bit is used for working and archiving, and 16-bit is often requested for distribution. That's why the main master is kept at 24-bit and converted to 16-bit with dither when needed.
Which file should I upload for distribution?
Check your distributor's requirements. In most cases a 16-bit, 44.1 kHz stereo WAV is enough; for platforms that accept 24-bit, the main master can be uploaded directly. If you're not sure, we prepare both versions for you at delivery.
Conclusion
In short: for mixing, send the tracks separately, as WAV and 24-bit; keep the sample rate constant throughout the project. For mastering, a clean stereo mix with enough headroom is sufficient. At delivery, the healthiest thing is to receive the 24-bit main master together with a 16-bit version for distribution and an MP3 for sharing. These small details make sure your song sounds solid on every platform.
If you're not sure in what format to prepare your project, get in touch with us. You can book an appointment through our booking page and learn more about our studio. When you work with us, we deliver your song in the right format, at the right level and ready for the listener.