

In this article
- What is the noise floor?
- Where does the noise floor come from?
- How do you reduce the noise floor at the time of recording?
- How do you measure the noise floor of your own recording?
- How does equipment choice affect the noise floor?
- How is the noise floor cleaned?
- Mistakes made when cleaning the noise floor
- The relationship between the noise floor and mastering
- Frequently asked questions
- Conclusion
If you hear a faint "hmmm" or "shhh" in your headphones while listening to a song, you are most likely dealing with the noise floor. The noise floor is the constant background noise you can hear even when all the musical content in a recording falls silent. In most of the projects that come to the Art N Craft studio in Antalya we find some amount of noise floor; the issue is knowing how much of it is normal and how much is at a level that needs cleaning. In this article we explain in plain language what the noise floor is, where it comes from and how to clean it.
Let's clarify one thing first: no recording is completely silent. The microphone, preamp, audio interface and room all carry their own small amount of noise. The goal is not zero noise; it is to reach a noise level that won't be noticed inside the song.
What is the noise floor?
The noise floor is the lowest level of noise that exists in an audio system even when there is no signal. Every link in the recording chain contributes to this level: the room, microphone, cable, preamp, converter and digital processing. The difference between the signal and the noise floor is called the signal-to-noise ratio (SNR). The bigger this difference, the cleaner the recording.
Think of it practically: if your vocal reaches the microphone loudly, the noise floor stays beneath it and is not heard. But when the vocal stops, or in a phrase sung softly, the noise floor comes to the front. Tools like compressors and limiters also make the noise floor more prominent because they pull up the quiet sections.
Where does the noise floor come from?
Finding the source of the noise floor is more important than cleaning it, because once the source is known you can often solve it without any cleanup at all. These are the sources we encounter most often:
- Room noise: Air conditioner, computer fan, fridge, traffic from outside and wind.
- Electrical noise: Mains hum (50 Hz and its multiples), bad grounding, light dimmers, phone chargers.
- Equipment noise: Cheap preamps, low-quality audio interfaces, a very high gain setting.
- Cables and connections: Long unbalanced cables, faulty jacks.
- Digitally generated noise: Low bit depth, poor conversion, heavily compressed files.
In a hot city like Antalya, the air conditioner staying on during recording in the summer months is one of the most common causes. For those recording at home, our home acoustic recording recommendations are a good starting point on this subject.
How do you reduce the noise floor at the time of recording?
The most effective cleanup is the cleanup done before recording, because every cleanup done afterwards takes something away from the sound. We recommend trying these steps:
Set the gain correctly
If you keep the gain too low and raise it afterwards, you raise the noise floor together with the preamp noise. A good target is to keep the recording level at about -12 to -6 dBFS on the highest peaks. It should be neither too quiet nor at the clipping limit.
Move the microphone closer to the source
The closer the microphone is to the source, the louder the sound is relative to the room noise. For vocals, a distance of 10-20 cm from the mouth and a pop filter usually give a good balance.
Control the environment
Turn off continuous sources like the air conditioner, fans and fridge for the duration of the recording. Separate cable paths from power cables. If necessary, move the computer outside the recording room. On the equipment side, our equipment recommendations for a home studio explain which investment lowers the noise floor the most.
How do you measure the noise floor of your own recording?
The noise floor can be hard to notice by ear, especially for an accustomed ear. Do a simple test: leave the microphone in its normal recording position, stay quiet and record ten seconds. Then select this recording in your DAW and look at its average level (RMS). If the value is around -60 dBFS, it's very good; around -50 dBFS, it's acceptable; if it is approaching -40 dBFS, there is a serious problem.
Listen to the same recording loudly on headphones, then by raising the gain. Also try adding a compressor to the recording to see how much the noise floor comes forward, because this is exactly what you will experience in the mix. This small test also shows which layer is the problem: if you unplug the microphone, leave the preamp on and the noise continues, the source is the equipment; if it increased when you plugged the microphone in, the room and microphone are involved.
How does equipment choice affect the noise floor?
The audio interface and preamp are the biggest equipment sources of the noise floor. In entry-level devices, noise increases noticeably when the gain is kept high. That's why it makes sense to invest in a clean preamp for sensitive, low-output sources such as a condenser microphone. Microphones with strong output, on the other hand, need less gain, so they also reduce the noise floor.
Another important point is using balanced (XLR or TRS) cables. Balanced cables largely reject interference from outside over long distances. Cheap cables with poor shielding leave the door open to this interference. You don't need to replace everything; first find the weak link and replace it.
How is the noise floor cleaned?
If the recording is already made and a noise floor remains, the cleanup needs to be done step by step. The order below is the path we follow in our studio.
1. Cut the unnecessary sections
In the gaps where the vocal is not sung there is only noise. Cutting (editing) these sections or lowering their level reduces the noise floor significantly without needing any tool. Make the cuts so that they preserve breaths and natural decay; hard cuts create a "door slamming shut" effect.
2. Use a high-pass filter
There is no useful information in a vocal below 80-100 Hz. Cleaning this region with a high-pass filter reduces low-frequency hum and rumble. The cutoff point changes depending on the instrument, so decide by ear.
3. Cut hum with a narrow-band EQ
50 Hz hum and its harmonics (100, 150, 200 Hz...) gather at specific frequencies. Targeting them with narrow-band notch filters solves the problem without touching the rest of the sound.
4. Noise reduction (denoise) tool
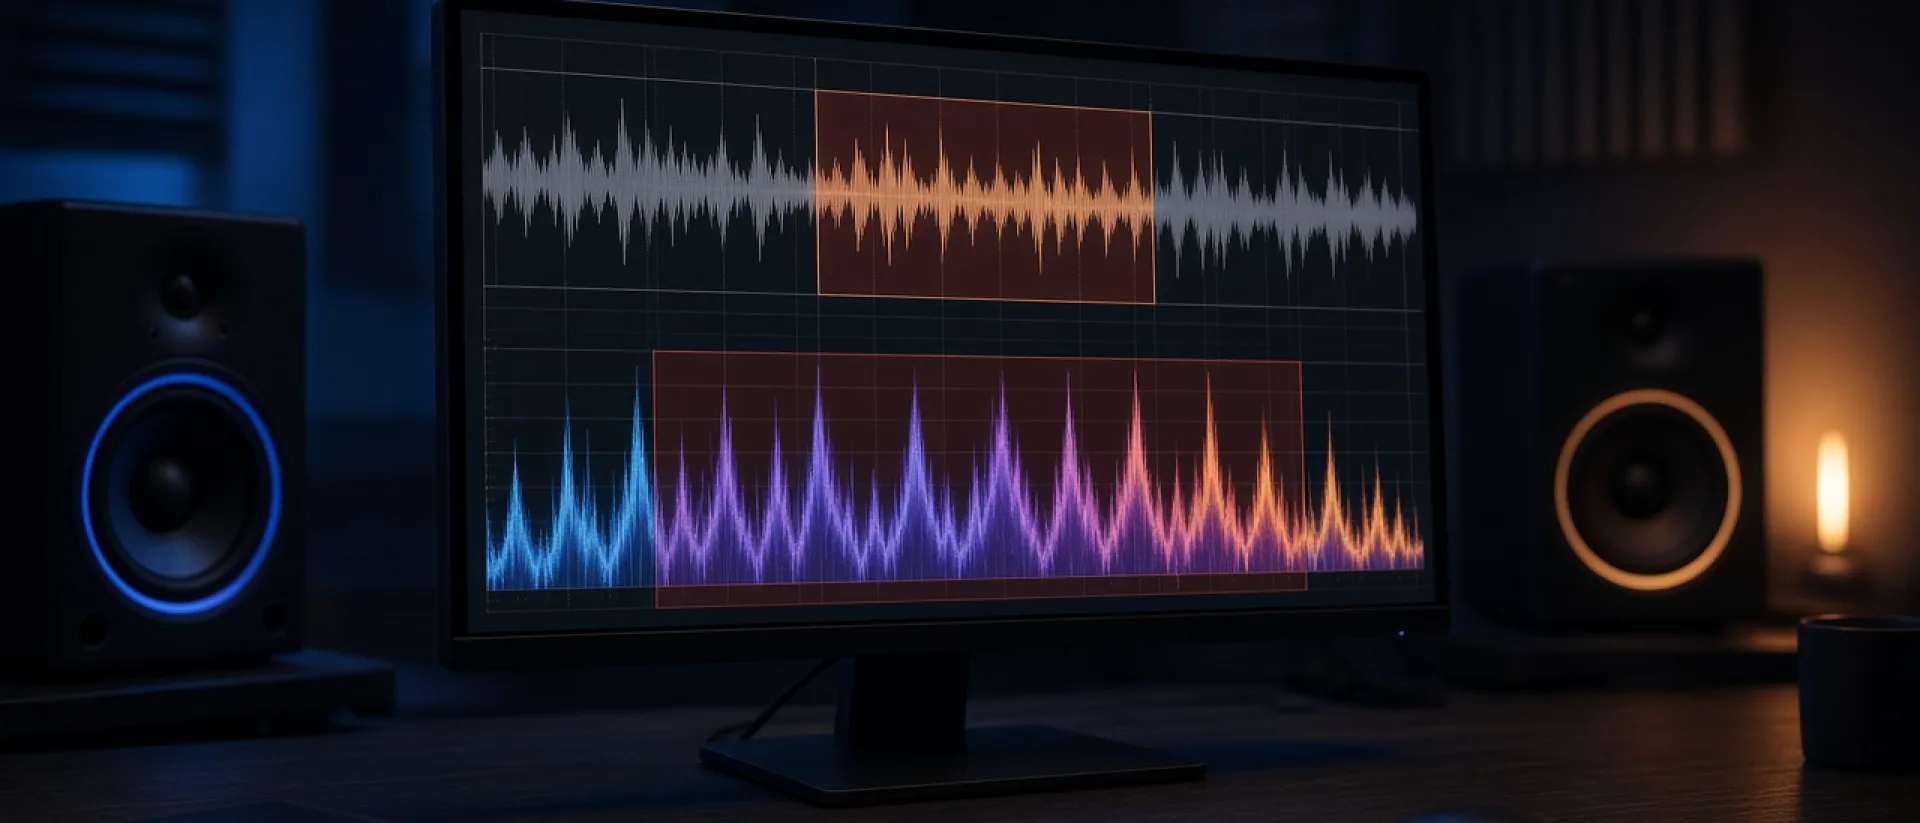
For noise floors with a constant character, capturing a noise profile is the most effective method. You "teach" the tool a few-second section containing only noise, and the tool subtracts that profile from the whole recording. The critical point here is moderation: 6-12 dB of reduction is often enough. More than that creates a metallic, "underwater" effect on the vocal. On this subject you can find hands-on guides about audio repair on the iZotope Learn page.
5. Expander or gate
An expander that automatically lowers the noise in quiet sections is particularly useful on instruments like drums and electric guitar. On vocals, prefer a soft expander; a hard gate cuts breaths and phrase endings.
Mistakes made when cleaning the noise floor
Cleanup tools are powerful but dangerous. These are the mistakes we see most often:
- Over-cleaning: Trying to zero out the noise floor kills the air and naturalness of the vocal. Even in a quiet song, a slight noise floor is natural.
- Processing in the wrong order: Doing the cleanup after the compressor. Because the compressor raises the noise floor, cleanup becomes harder.
- Deciding while soloing: A noise floor that bothers you on its own may not be audible in the mix.
- Trying to solve a recording problem with mixing: Sometimes re-recording gives a better result than hours of cleanup.
For other common problems encountered at the mix stage, you can also look at our article on the 5 biggest mistakes made in mixing and mastering. If you have a very noisy recording, the article in which we explain whether a vocal recorded in a noisy environment can be saved will also guide you.
The relationship between the noise floor and mastering
During mastering, the song is generally raised and compressed. This means the noise floor in the mix becomes more prominent. That's why checking the noise floor before mastering is essential. The noise floor is easily noticed especially in the intro and outro of the song, that is, in the parts where only a few instruments play. How the song will be heard on streaming platforms is also important; we covered this topic in our article why does your song sound quieter on Spotify. For Spotify's loudness normalization and delivery recommendations, the Spotify for Artists support pages contain up-to-date information.
It is best to think about recording, editing and mastering together. In our mixing and mastering service we first analyze every recording that comes to the project for noise floor; then, if necessary, we can recommend re-recording or cleaning the recording.
Frequently asked questions
Can the noise floor be eliminated completely?
In practice, no. Every audio system has its own noise floor. The goal is to reduce this level until it isn't audible inside the song. Over-cleaning makes the sound artificial; that's why a slight noise floor is acceptable.
How many dB should the noise floor be?
There is no exact number, but in a good recording the noise floor is at -60 dBFS or below. Around -50 dBFS is also a workable level in a home environment. What really matters is the difference between the vocal or instrument and the noise floor.
Does a cheap microphone create a noise floor?
It's true that a microphone has its own noise (self-noise), but in most home recordings the real culprits are the room, the air conditioner and a low-quality audio interface. Before changing the microphone, check the environment and the gain setting.
Do AI noise removal tools solve the noise floor?
In most cases they give a nice result, but if you overdo the setting, artificiality appears in the vocal. We use these tools lightly and gradually, and support them with manual editing.
Conclusion
The noise floor is an inevitable part of every recording; but with the right gain, a controlled environment and moderate cleanup, it is possible to bring it down to a level that won't disturb the song. Remember, the best cleanup is done at the time of recording; what comes after requires care and moderation.
If you are dealing with a recording that has a noise floor, bring the file to Art N Craft; let's listen together. If you are planning a new recording, you can set up a session from our booking page and get to know our studio. For recording we have audio recording and production, and to learn the audio side yourself, our mix & mastering training.